
How to Install LED Video Walls: A Step-by-Step Guide
TA
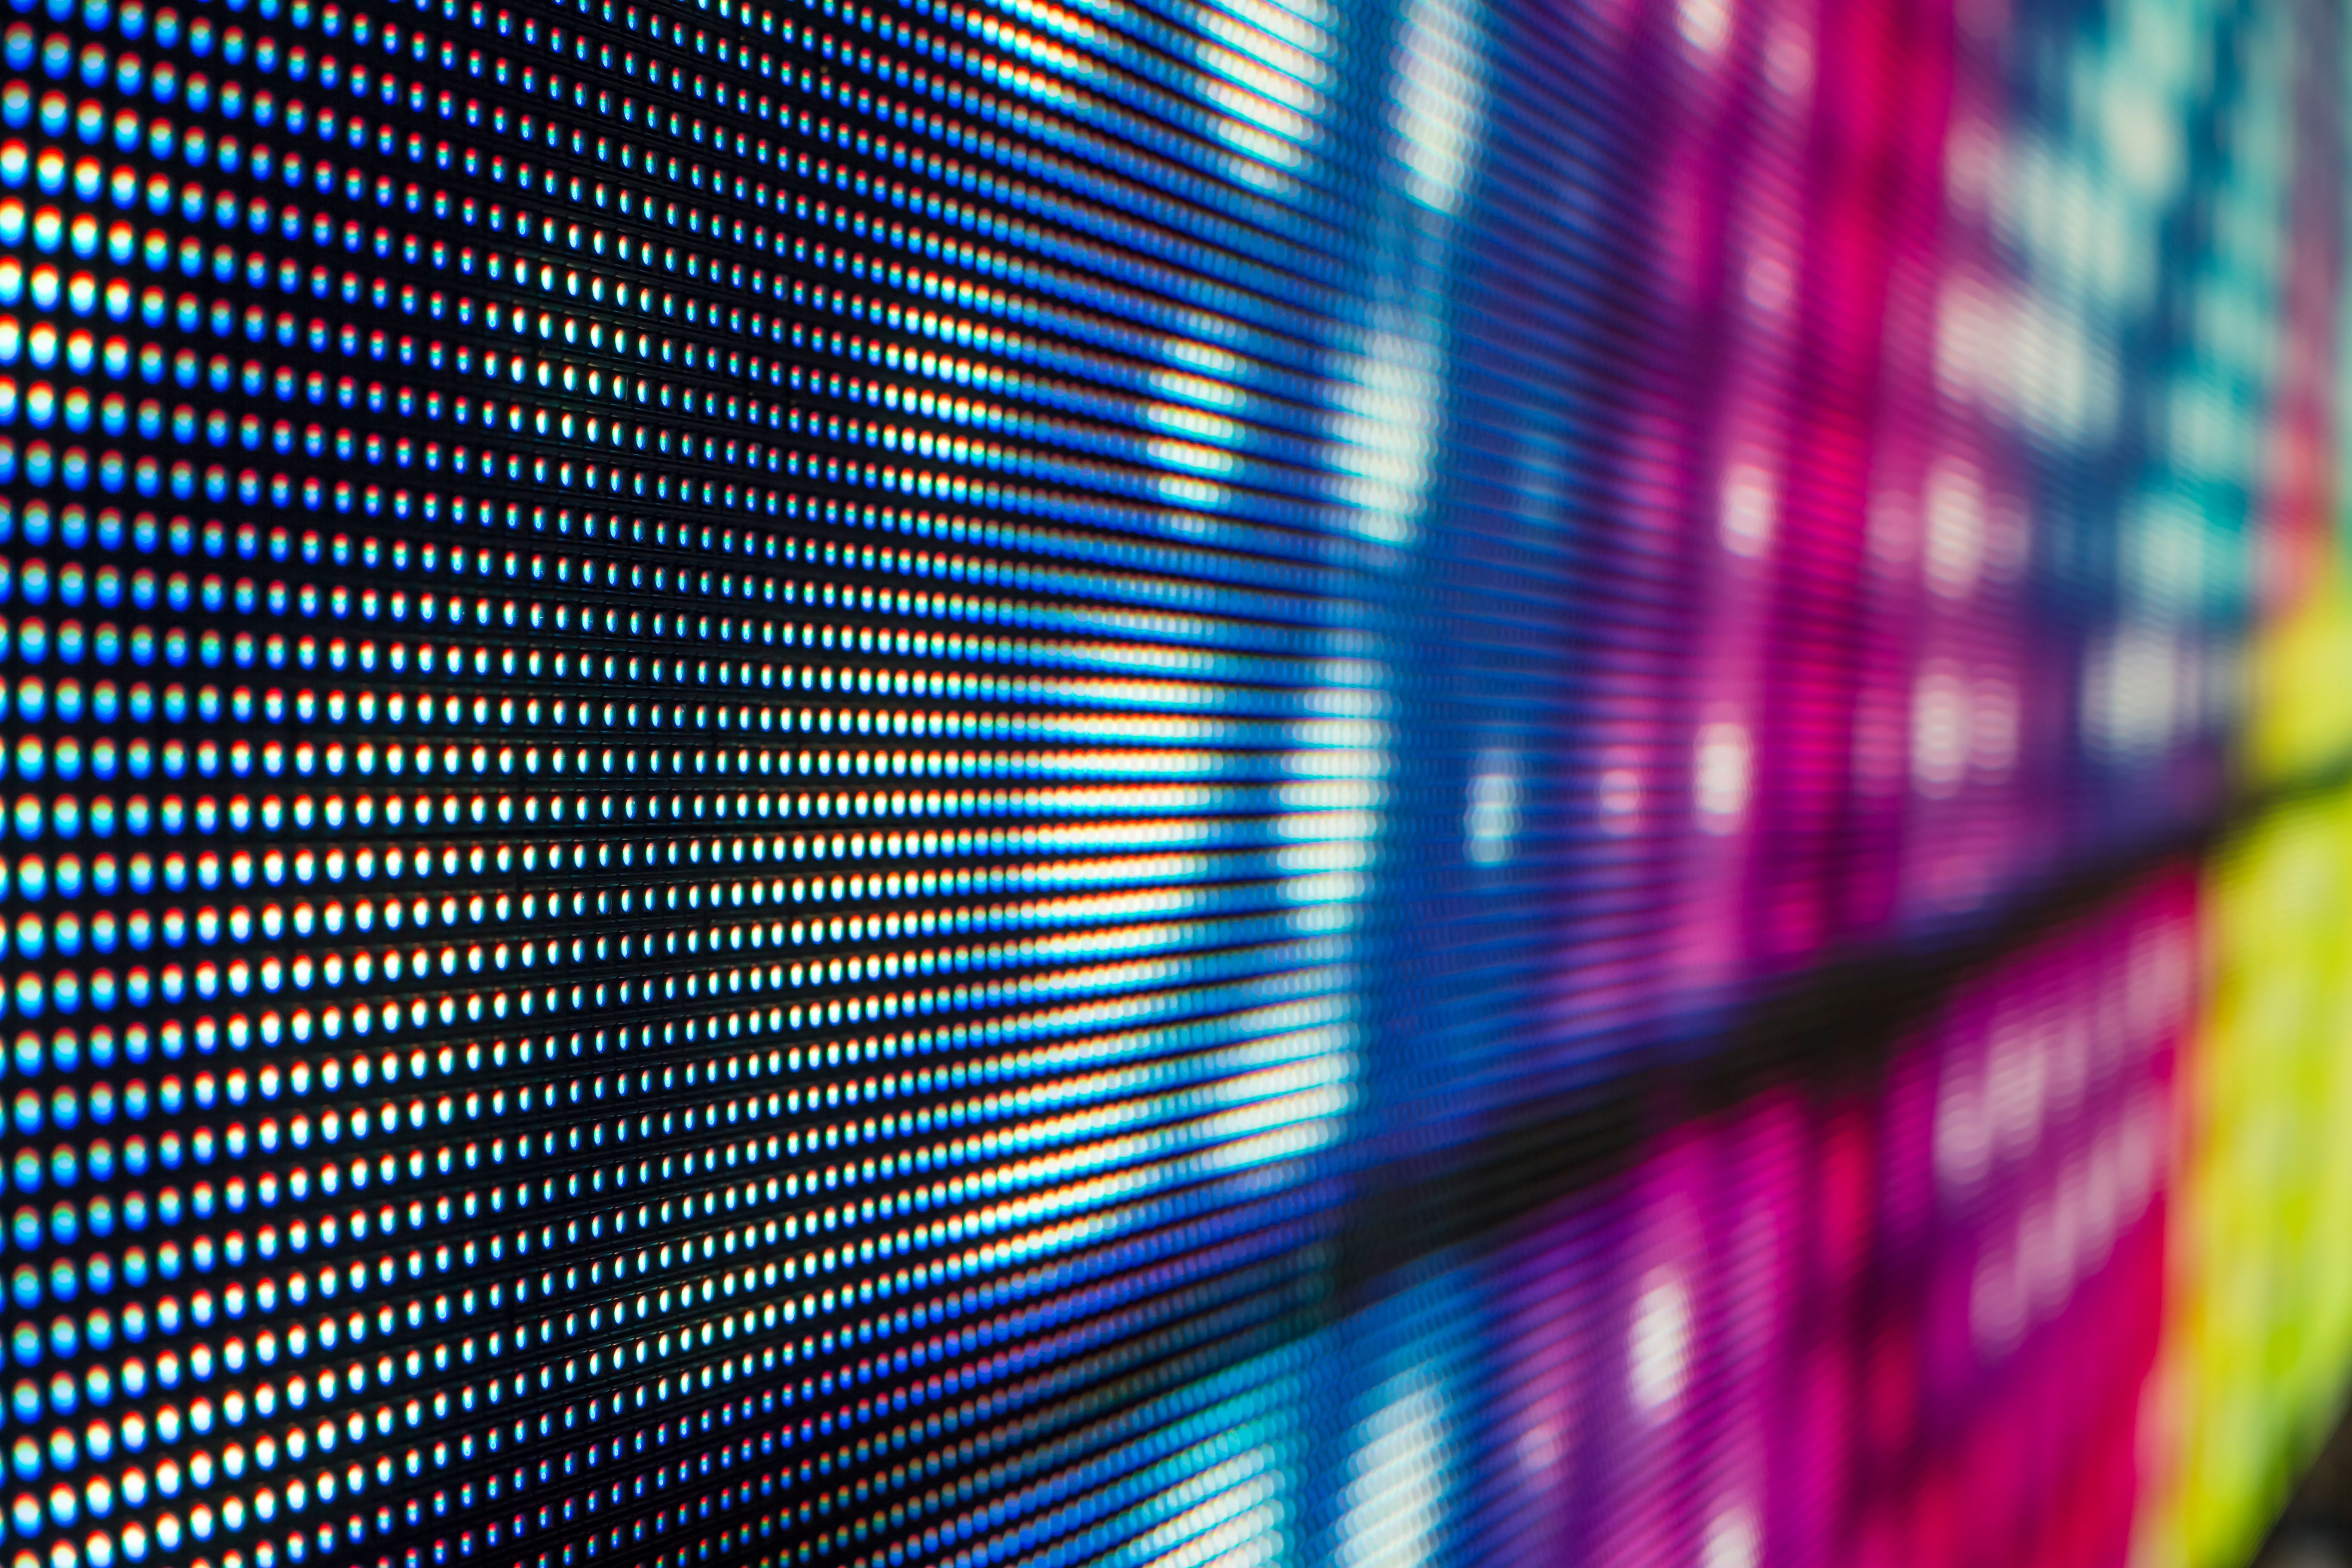
Understanding LED Video Walls
LED video walls are becoming increasingly popular for both commercial and personal use due to their vibrant display quality and versatility. Whether you're planning to install one in a corporate setting, event venue, or even a home theater, understanding the basics of LED video walls is crucial. These impressive installations consist of multiple LED panels that work together to display a single large image or video.
Gathering Your Tools and Equipment
Before diving into the installation, it's essential to gather all necessary tools and equipment. You'll need mounting hardware, video processors, cables for data and power, and possibly a computer for configuration. Ensure that you have the correct number of LED panels to cover your desired wall space.
Tools Checklist
- Screwdrivers
- Level
- Measuring tape
- Cable ties
- Drill (if mounting on a wall)
Planning the Layout
Proper planning is crucial for a successful installation. Start by measuring the area where you want to install the LED video wall. Determine the configuration of the panels, considering both the dimensions and the desired resolution. Make sure the layout accommodates any potential obstructions like windows or doors.
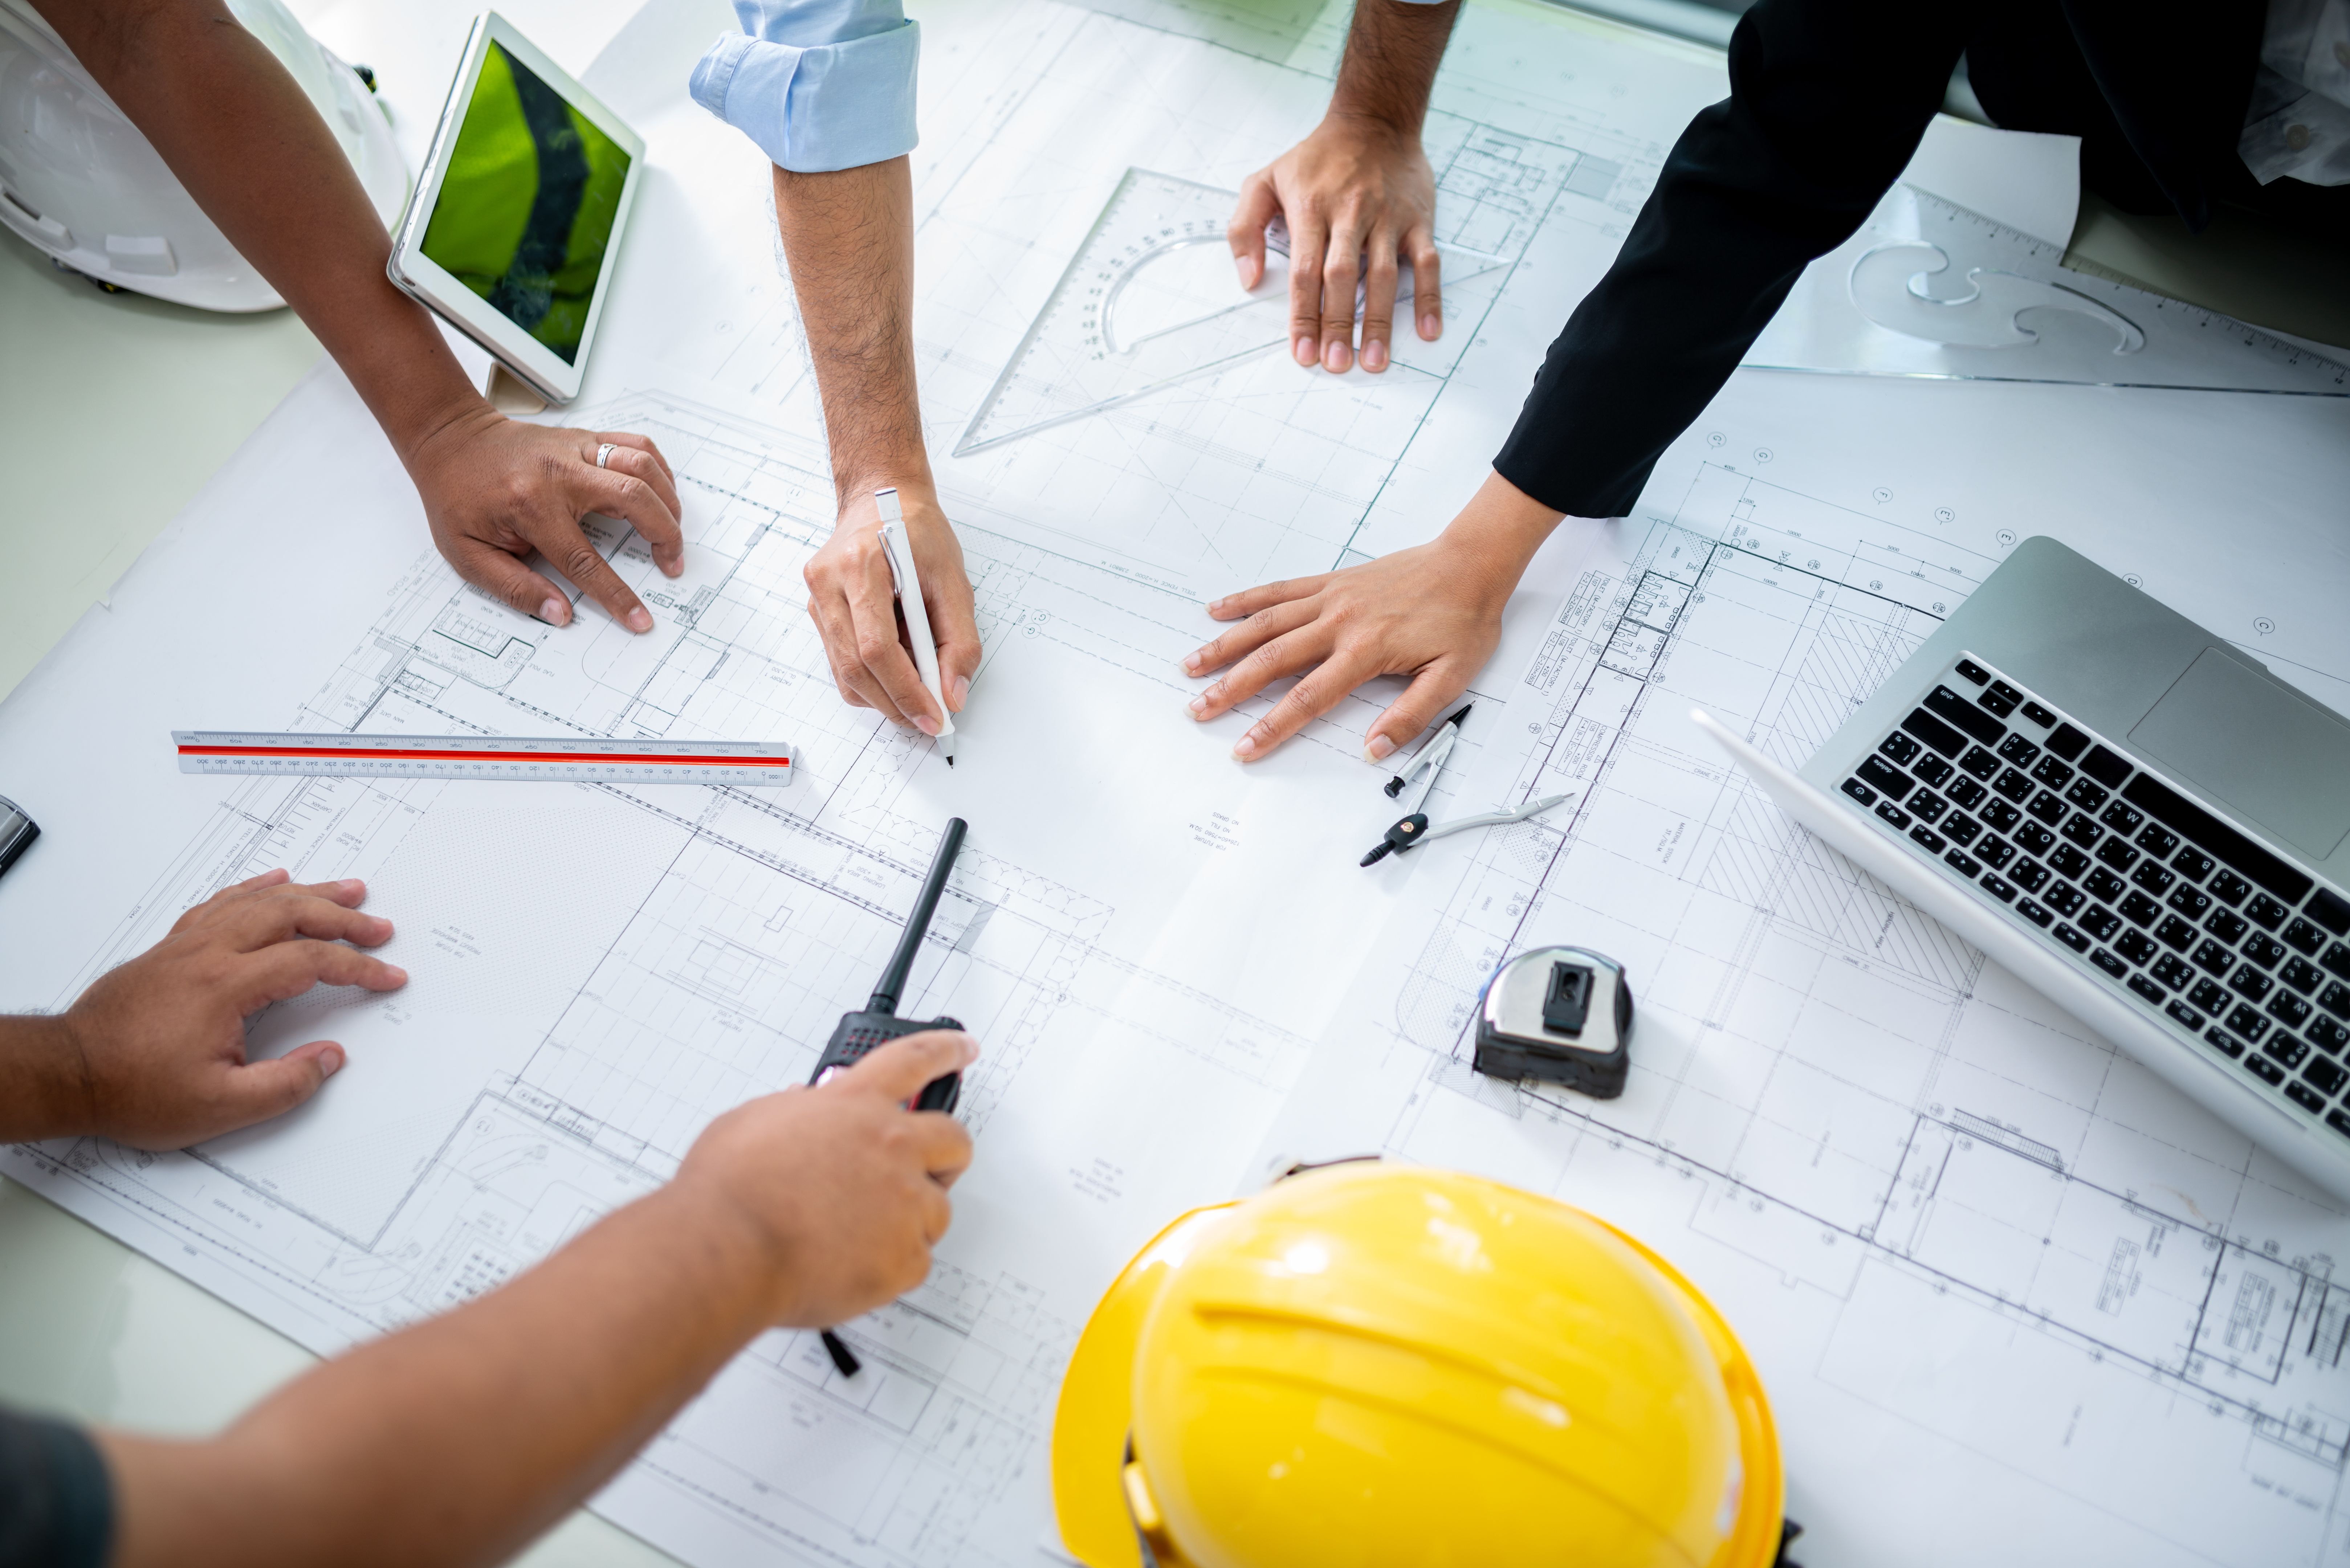
Consider the viewing distance and angle to ensure optimal visibility. The resolution you choose should correspond with how far viewers will be from the screen. For closer viewing distances, a higher resolution will be necessary.
Installing the Mounting Structure
The next step is to secure the mounting structure on which your LED panels will be placed. This structure must be robust enough to support the weight of all panels. Use a level to ensure that the structure is even, as any tilt can cause alignment issues with your display.
Mounting Tips
- Ensure that the wall or stand can support the weight of the installation.
- Use high-quality anchors if drilling into drywall.
- Double-check alignment with a level before tightening screws.
Connecting and Configuring Panels
Once the mounting structure is secure, begin attaching the LED panels. Carefully connect each panel according to the manufacturer's instructions, ensuring that power and data cables are properly secured. Most modern LED walls offer daisy-chaining capabilities, simplifying the connection process.
After physically connecting the panels, use a video processor or software to configure the display. This includes setting the correct resolution and aligning the image across all panels for a seamless visual experience.
Testing and Calibration
With everything connected, it's time to power up your LED video wall and conduct testing. Check for any discrepancies in color, brightness, or alignment. Calibration might be required for optimal performance, especially if you're working with panels from different batches.
Adjust settings such as brightness and contrast to suit the environment where your video wall will be displayed. Conduct tests with various types of content to ensure the wall performs well under different scenarios.
Final Considerations
After installation and calibration, consider ongoing maintenance requirements. Regular cleaning and inspections will help prolong the lifespan of your LED video wall. Additionally, ensure that you have technical support available for troubleshooting any future issues.
Installing an LED video wall can transform any space into a dynamic visual environment. With careful planning and attention to detail, your installation will not only meet but exceed expectations, providing stunning visuals for years to come.